
Have you ever wondered why models produced using the same processes and technical drawings can end up with such different surface qualities?Some defects appear immediately yet other parts have blemish free visible surfaces and uniform paint matching expected appearance standards. The prototype process, particularly post processing quality within vacuum cast prototyping process determines final model outcome.
Common Post-Processing Techniques for Prototypes Process
Sanding and Polishing
We begin sanding with coarse grit. Finer grits follow to erase tool marks, layer lines, burrs and minor fabrication flaws. The fine polishing can be applied to further refine the surface texture after the foundational sanding is complete We get smooth curve transitions and crisp clean edges as layer and machining marks fade. Surfaces prepared this way suit later work including painting and plating.

Plating & Surface Coatings
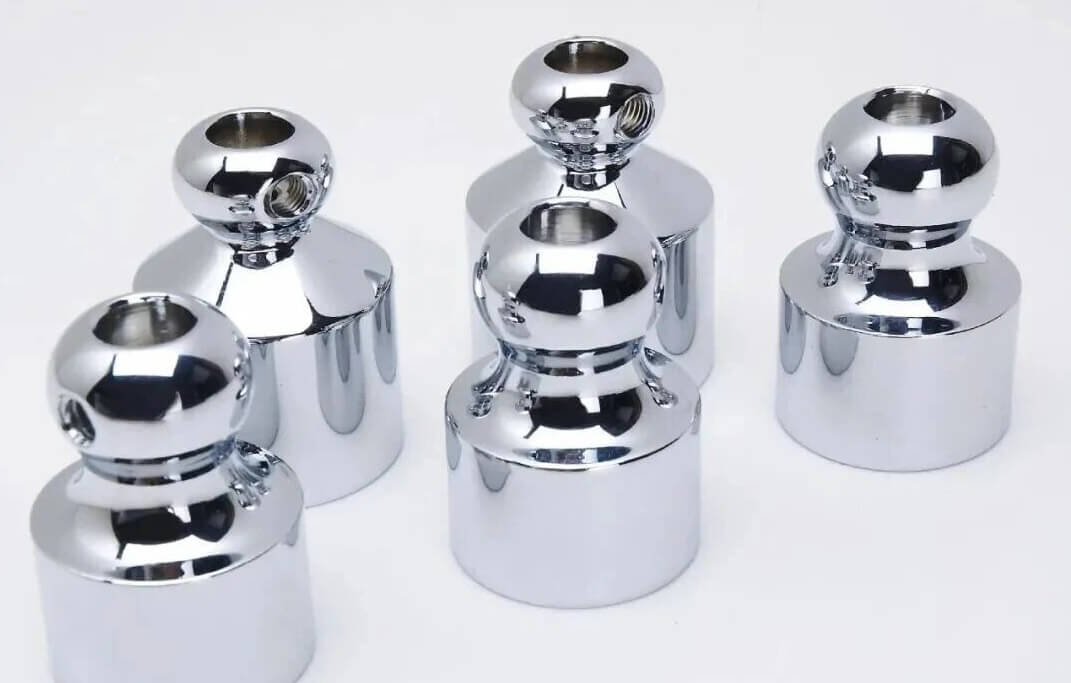
Plating: Prototype Process brings metallic luster and texture to plastic parts, like chrome or nickel finishes. This method suits product housings, decorative pieces and display prototypes that need premium visual quality.
Tip: Plastic prototypes need proper surface pre treatment before plating to get good results
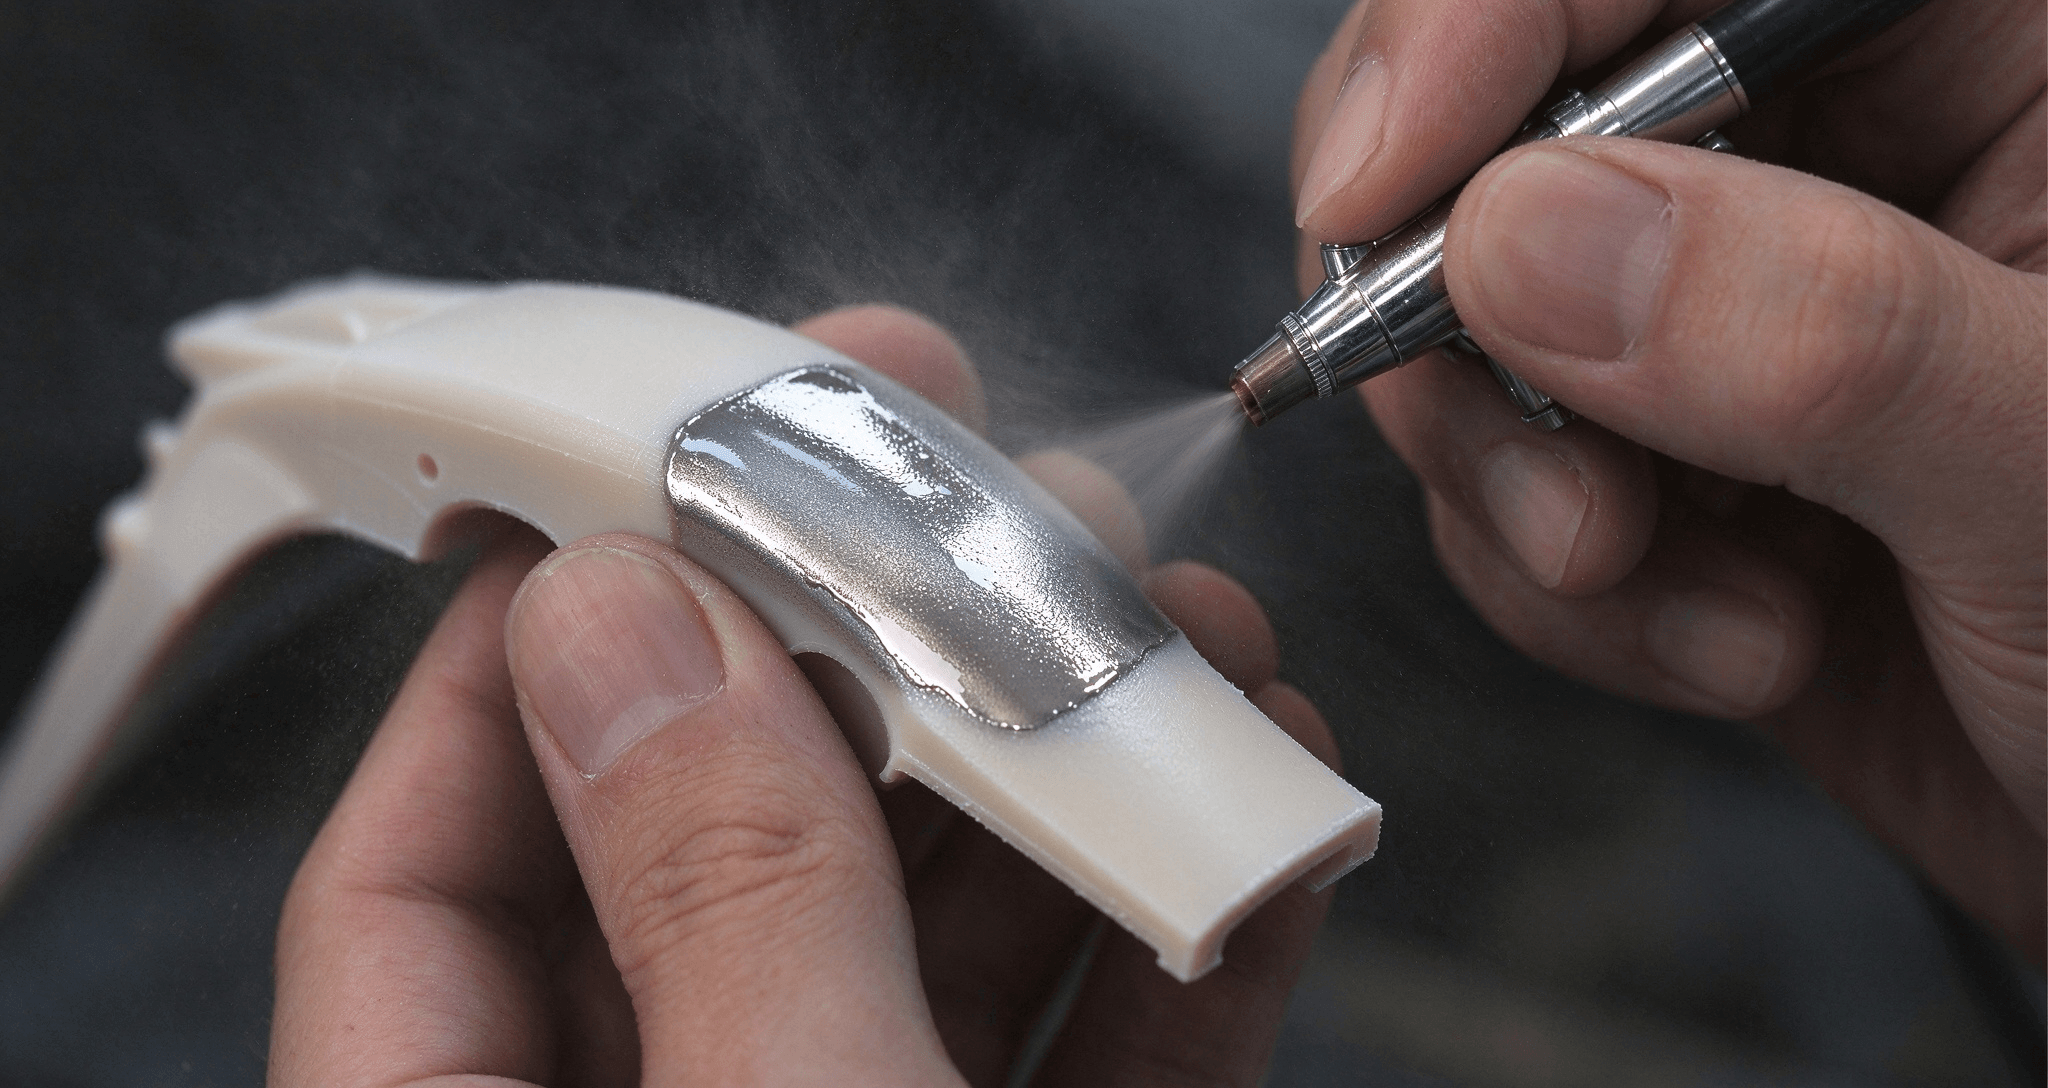
Surface Coating: Plastic prototypes accept these coating options, and every paint type unlocks glossy, matte, metallic or custom color effects while adding mild wear and stain resistance. We run parts through sanding, cleaning and priming before spraying. This keeps the paint even and helps it stick well
Procurement Tip: Adhesion levels for paints vary across different types of plastics and PU resins; some transparent, flexible materials can be particularly challenging to coat. Be sure to confirm the feasibility of the prototype process with your supplier in advance.
Spraying and Surface Coating
Putty Application and Surface Pre treatment
- Fill in surface pits, seams, minor imperfections.
- Achieve a smooth surface through putty application and sanding.
Spraying and Surface Coating
- Apply various colors and metallic finish paints.
- Create specific matte, high gloss, semi gloss.
- Add protective coatings as required.
Screen Printing and Pad Printing
Screen printing and pad printing of the key prototype process are commonly used to apply logos, text, scale markings and patterns onto the surfaces of prototypes. There are several technical details to consider while both methods are effective for adding markings . An inadequate preparation can easily compromise the final print quality.
Inaccurate Positioning and Dimensions
There are common printing issues including misaligned logos, text or patterns and incorrect sizing..Curved or irregular surfaces make these issues far more noticeable,so a sample helps verify outcomes first.
Poor Ink Adhesion
Wrong ink selection or inadequate pre surface cleaning makes printed markings fade, peel or flake over time. Materials such as ABS, PC or acrylic need specific ink types.
Lack of Clarity and Loss of Detail
Fine text and narrow lines can come out blurry, broken or smudged after printing. We steer clear of overly fine fonts or lines in design work and check ahead whether the printing process can hit that target detail level.
Discrepancies Between Design Colors and Printed Colors
When color accuracy is critical you can share a color code, you can build a physical sample and check the color with a standard color chart before moving to full production
Note: Colors displayed on a computer screen may not perfectly match the final printed output.
Uneven Product Surfaces
The prototype process is sensitive to scratches, dents, machining marks, and dust on the printing surface, all of which can spoil the final print result.Therefore, it is essential to properly prepare the surface through sanding and cleaning to ensure the best possible outcome.
Polishing and Translucency Treatment
The prototype process uses soft tools and polishing media for post sanding surface refinement, ideal for transparent components and prototypes that call for a high gloss finish. It can achieve either a mirror like finish or a matte effect. Once polished, transparent parts become crystal clear, free from haziness or “orange peel” (wavy surface textures). This technique is commonly used for commercial transparent components such as lenses and lamp covers.Additional reference on surface finishing practices can be found in this guide to prototype surface finishing.
Tip: Polishing increases labor time and costs. You can set different quality standards for functional prototypes versus display models to help manage your budget.

Laser Engraving
Unlike traditional methods, laser engraving involves no physical contact with the workpiece surface. The prototype process cuts down burr formation, delivers sharp fine line markings, and works directly on painted surfaces for highly wear resistant prints.
Tip: Confirm the required engraving depth in advance to avoid piercing through thin-walled sections.
How to Choose the Right Surface Finish
The right surface finish depends on three factors including intended use, material and budget.
Intended Use: For your in house functional tests, basic sanding is all you really need. If the prototype is for client presentations of samples, considering adding spray painting or laser engraving to enhance its visual appeal. We can need complete high precision finishing when bench marking against mass produced parts.
Material: Rigid polyurethane (PU) used in vacuum casting generally supports spray painting and polishing . The transparent PU works great for high clarity polishing yet soft rubber like materials remain tricky to color or polish to a high gloss finish within the prototype process,
Budget:We prioritize core visual requirements when working with a limited budget in the prototype process. Basic sanding works well and extra processes like spray painting, high precision polishing and laser engraving raise labor time and costs.
Conclusion
All details of the prototype process affect your final prototype finish. Material and application needs guide the right finishing choice. Reach out to Grandshine if you have any other questions.Feel free to get in touch . if you have questions about


Related Posts
Quality Assurance & Quality Control | Definition-Difference-Methods-Process
what is the injection molding-part1
Some tips help you understand electric injection molding machines